This page is to document, and help anyone who wants to rebuild, and upgrade their Nissan 350Z engine.
this has come about because my 350 developed a bottom end knock on the way to get an MOT!
the quotes i was getting for a rebuild were £3500 upwards, and that was just to fix the knock, no upgrades
By doing this job myself i can spend out on good tuning upgrades rather than someone else’s labour charges.
The fist thing i did was start collecting the parts i needed, i had to sell a motorbike and one of my karts to fund the build.
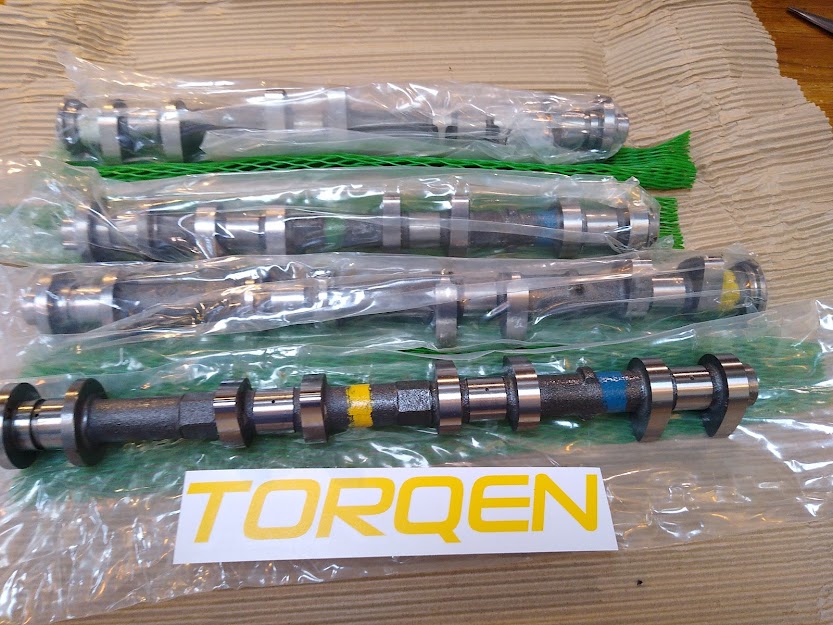
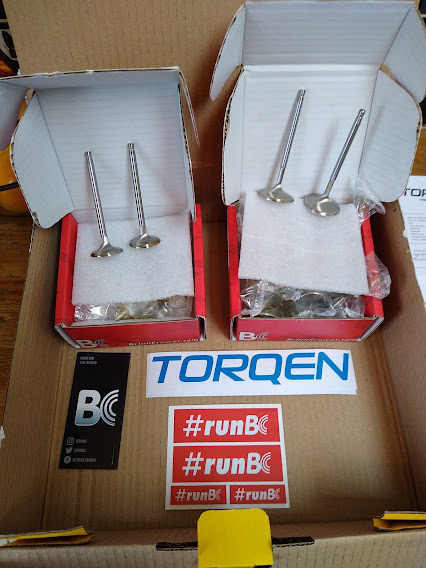
The parts i chose to use for my build were Cosworth 11:1 high comp pistons, eagle rods, Brian Crower valves and springs.
I have also gone for a 370 oil pump which is a good upgrade, kenjutsu timing chain kit.
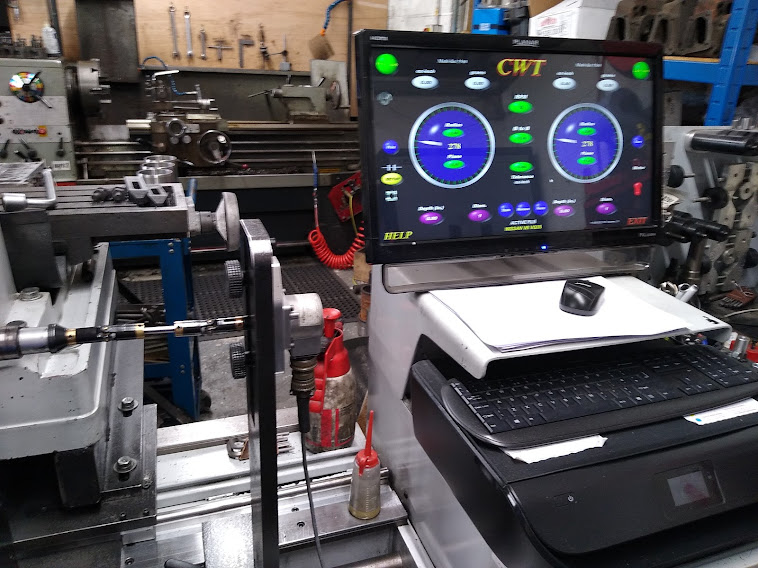
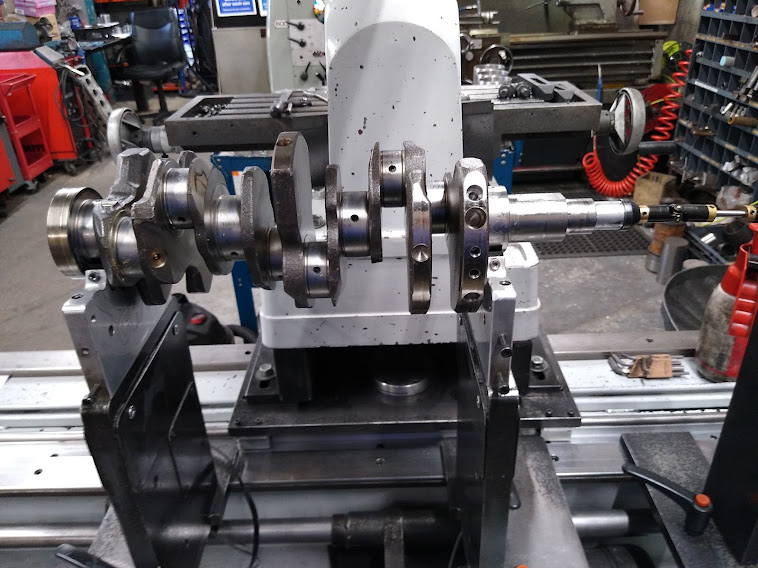
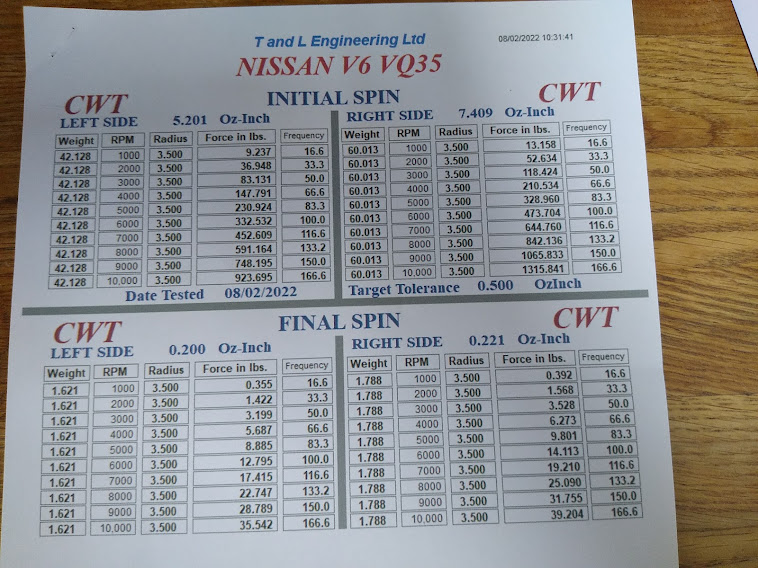
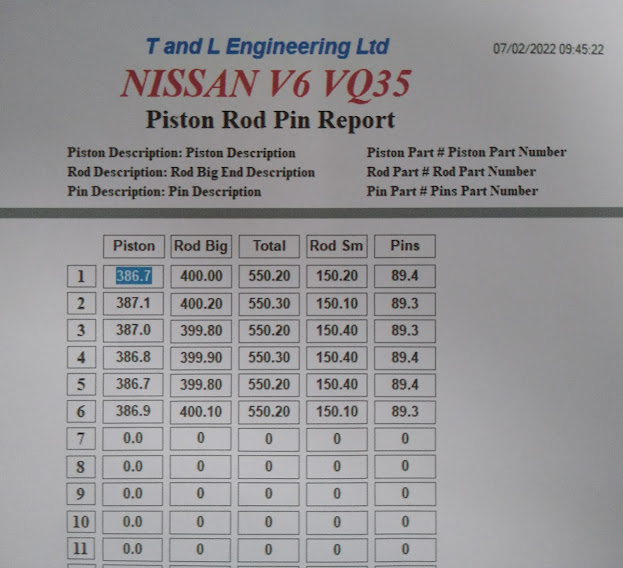
The crank, rods pistons, shells etc went of to T&L Engineering for balancing, pistons and rods were all weight matched.
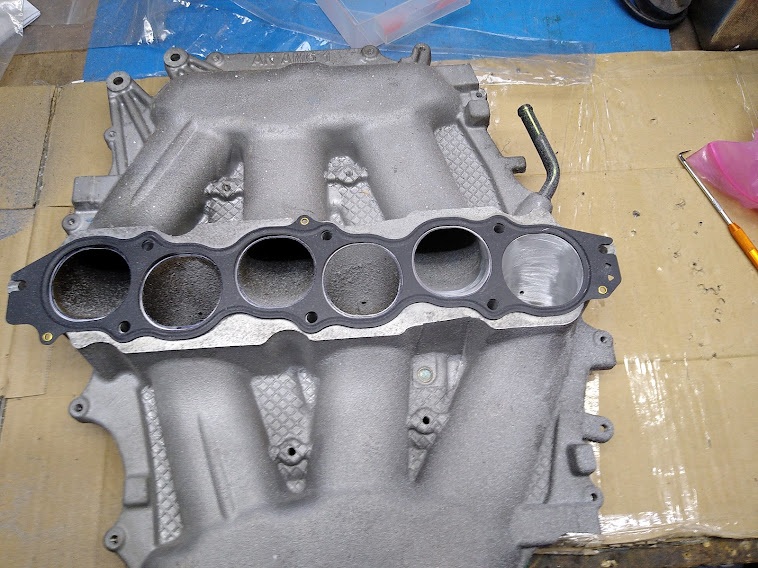
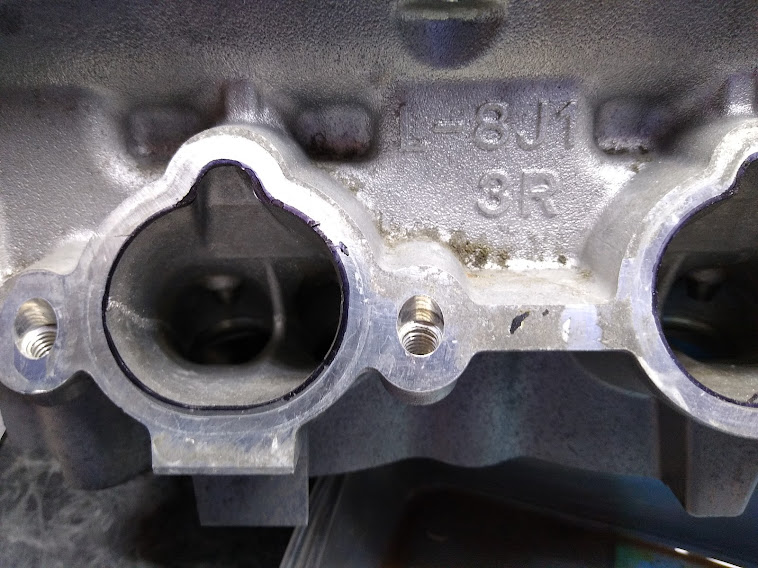
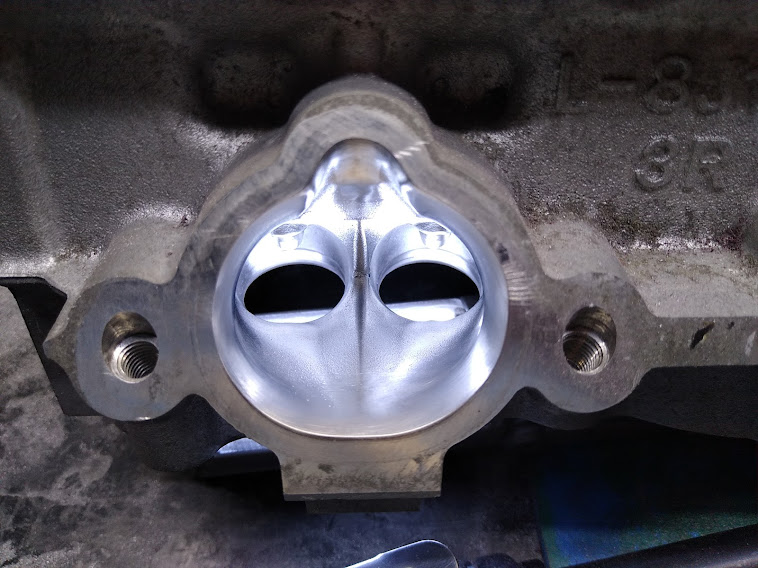
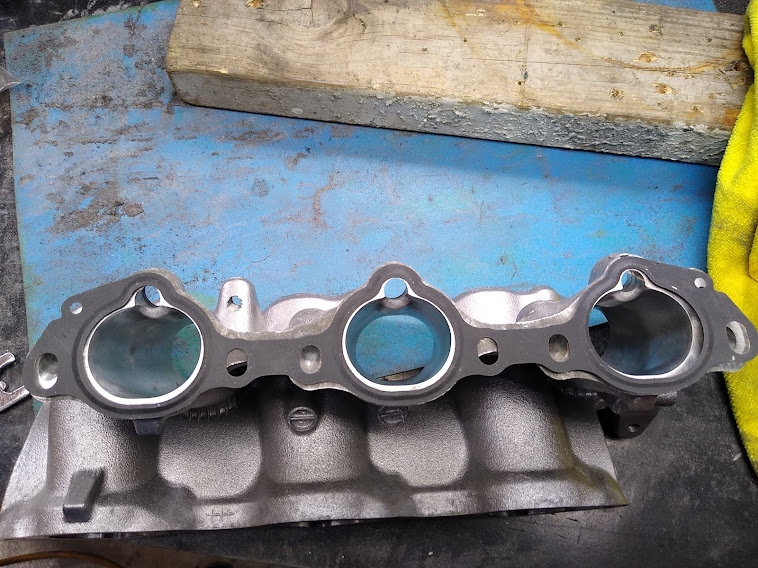
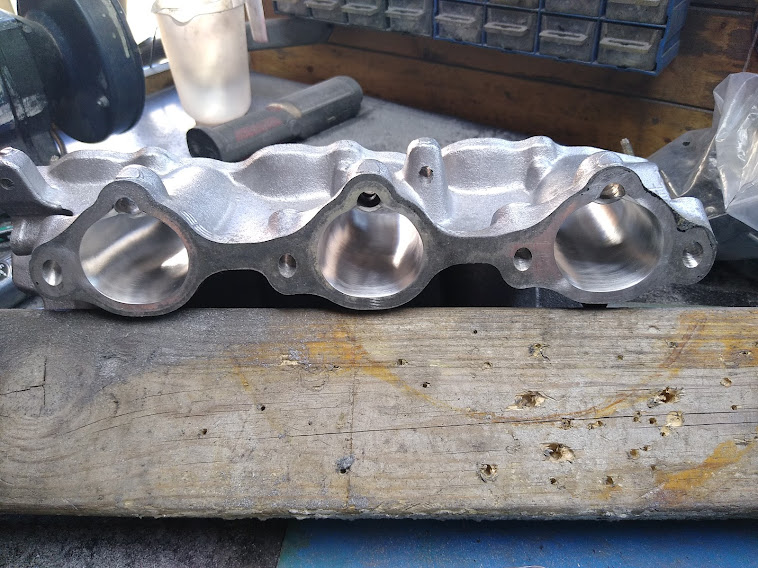
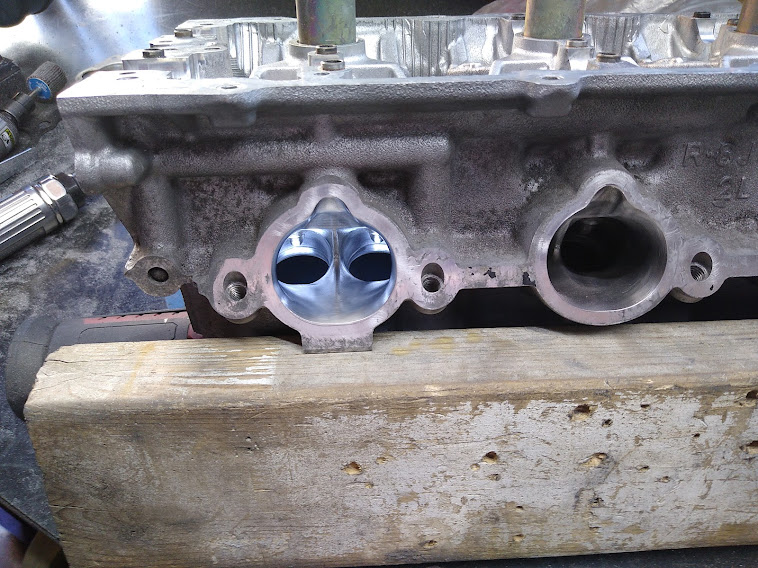
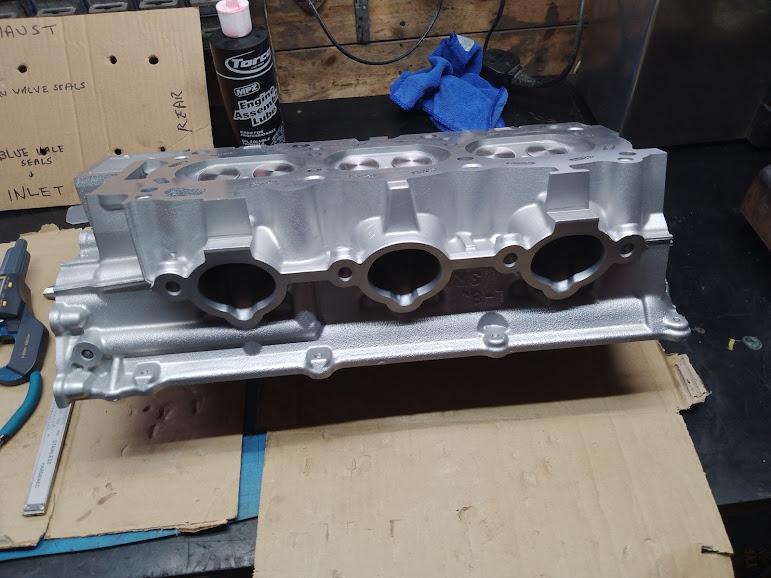
While the parts were away i thought i would gas flow the heads, inlet manifold and lower plenum. Top plenum is a KinetiX.
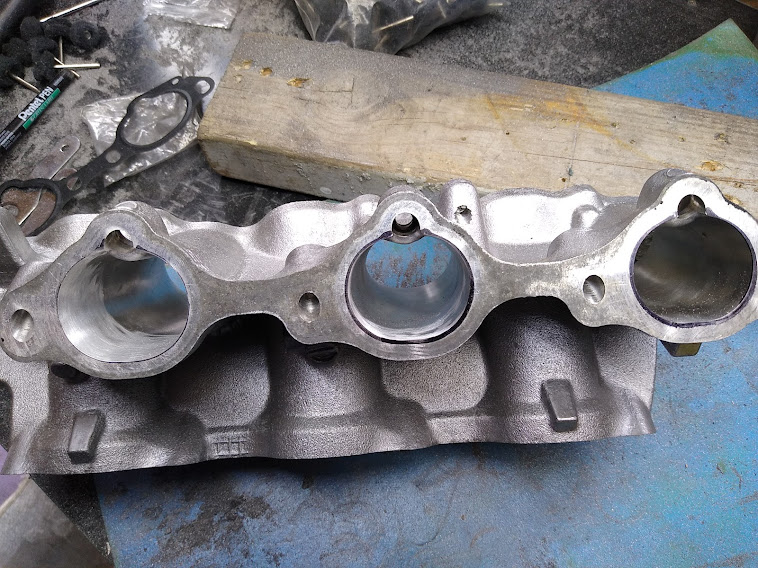
The underside of the lower plenum is matched up to a new gasket, as is the inlet manifold which is worked right through all casting marks removed.
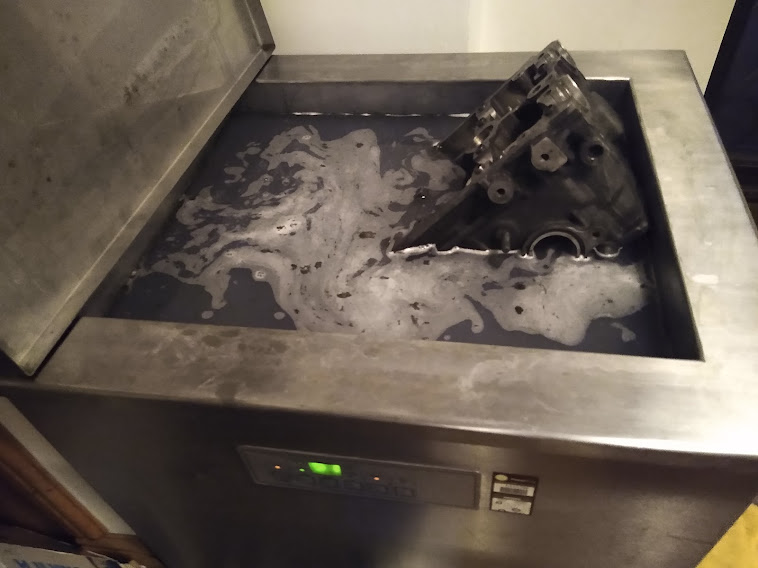
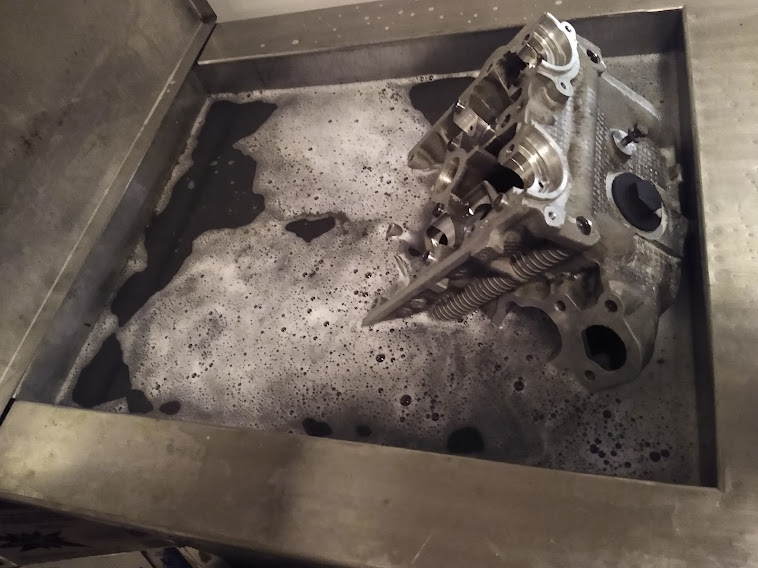
I am lucky enough to have an ultrasonic cleaning tank, so the heads and manifolds were stripped and cleaned.
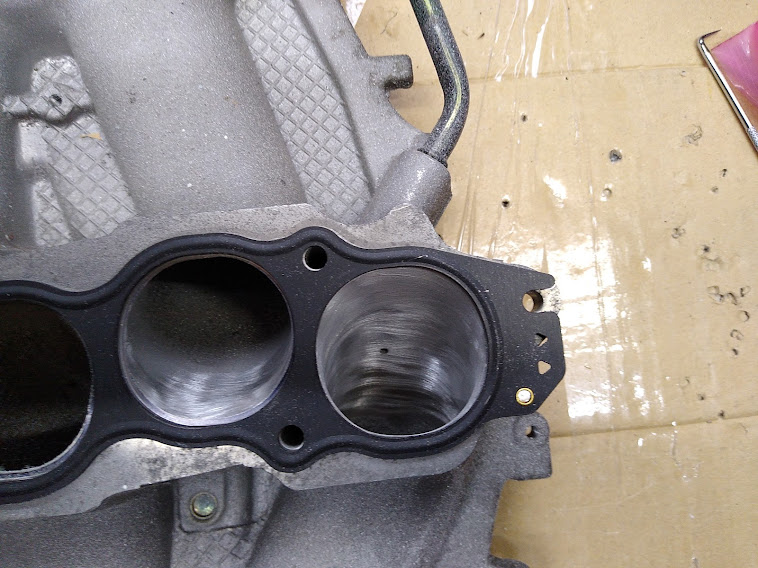
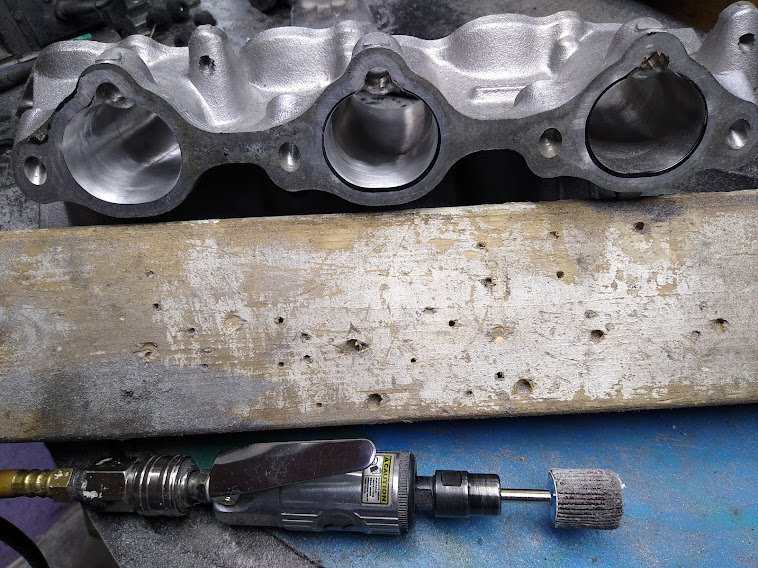
then many many hours of gas flowing started. A good way to do this is to match all parts up to the gaskets, remove all casting marks. The exhaust side of the heads is best just cleaned up, they seem to work better if the ports are not enlarged.
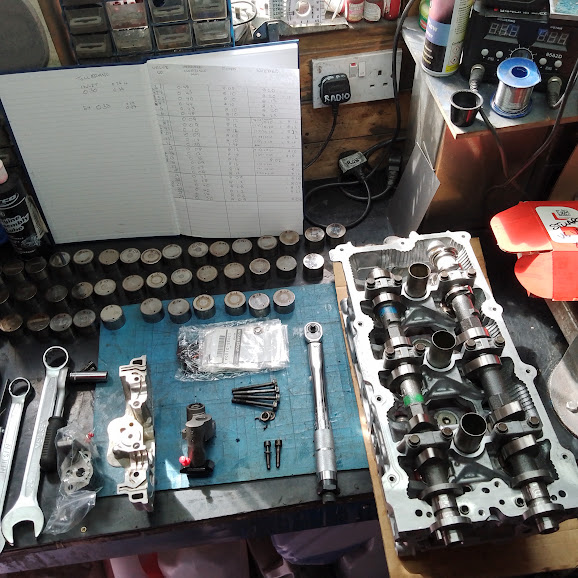
Hopefully the pictures will help!
You can see one of the die grinders i use, i have various sized grinders, different cutting tools and flap wheels.
You will use shit loads of these, 50+ and to finish of use small scotchbrite polishing bits, they have different colours for different grades. They don’t last long so buy 100+
on this manifold i just used a marker pen to highlight the ali to be removed, i find i can see it better than a scribed line.
No block ID is set
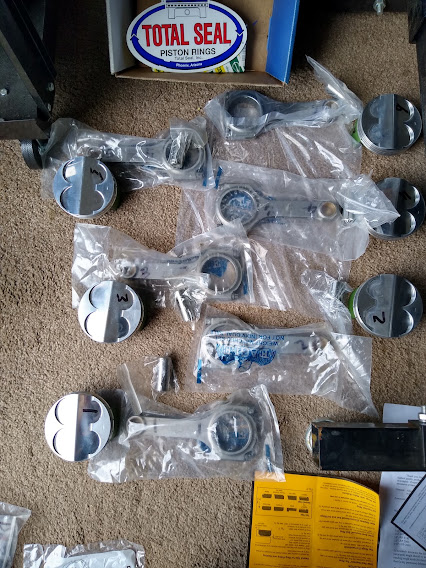
Once the block and parts were back i checked the ring gaps, these Cosworth pistons came with pre gapped rings, the pistons are matched to a bore and should not be mixed up. The eagle rods were supposed to be weight matched from the manufactures, but were not even close, a bit poor in my opinion.

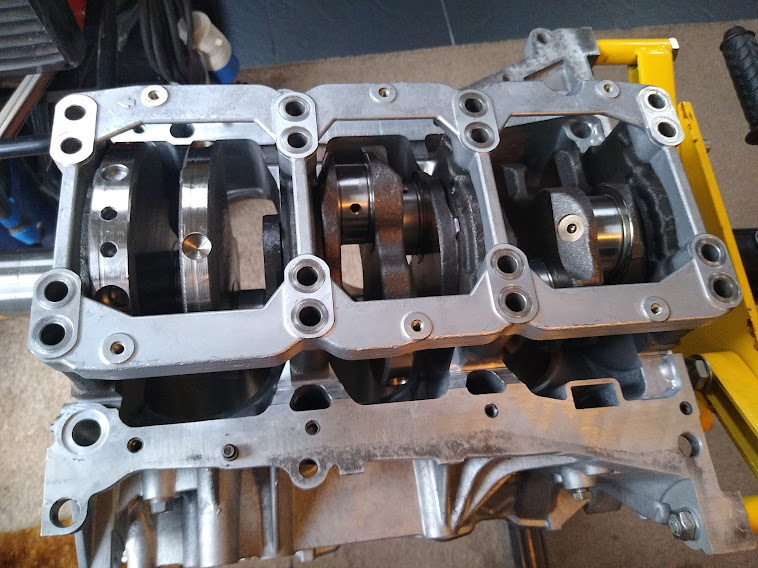
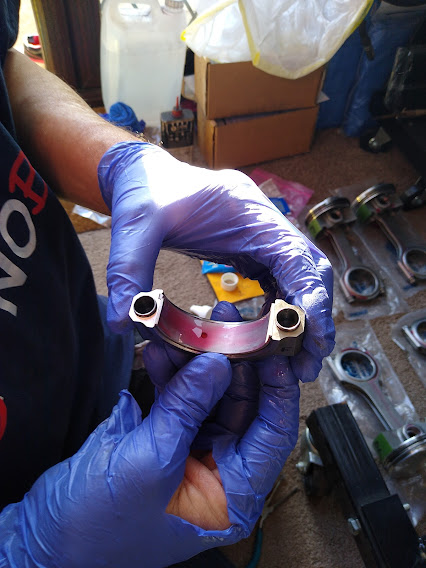
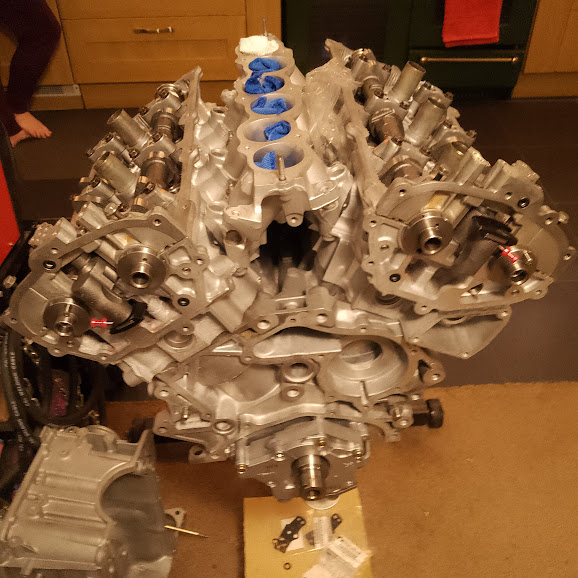
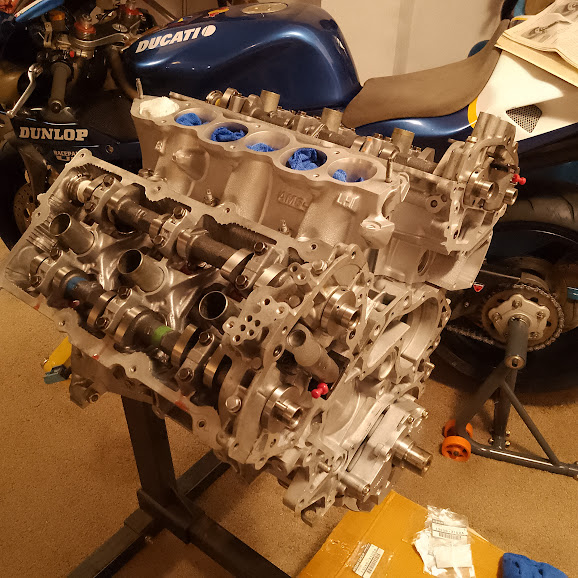
Crank and pistons, rods back, all balenced, polished journels too. new shells, so re assemby starts


dont forget the oil spray jets and new thrust washers!
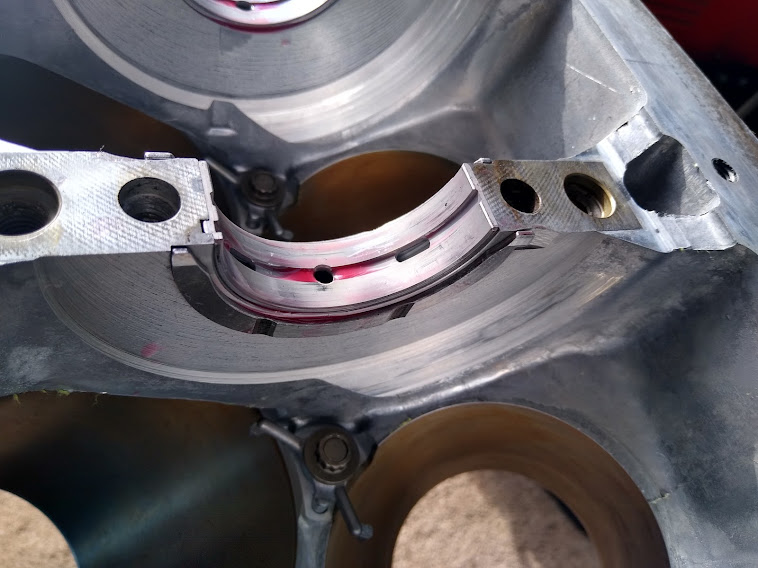

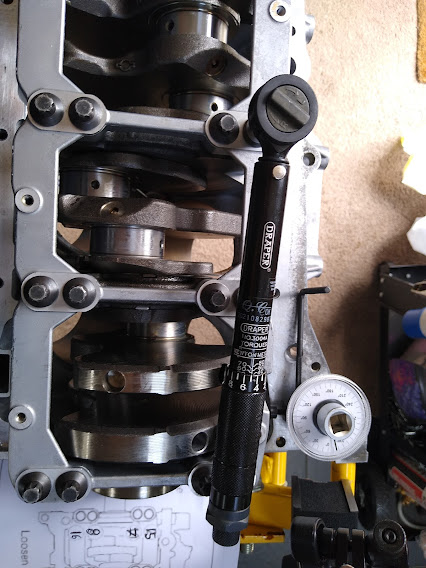
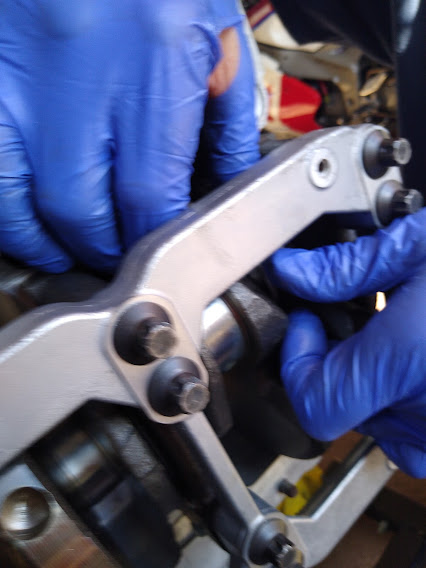
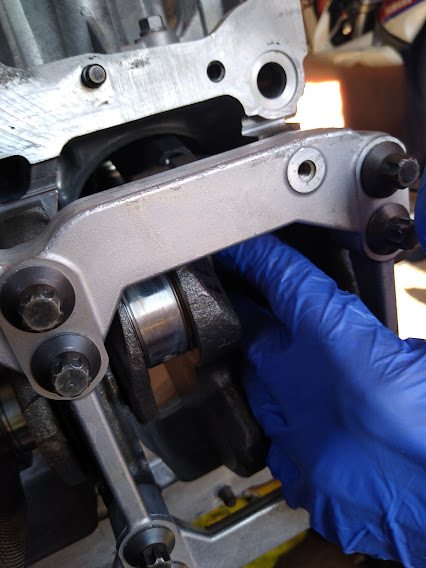
Once the crank and shells, spray bars, thrust bearings are in, you can add the support cradle and drop the bolts in.
Good old haynes manual will give the torque specs and bolt tightening sequence.
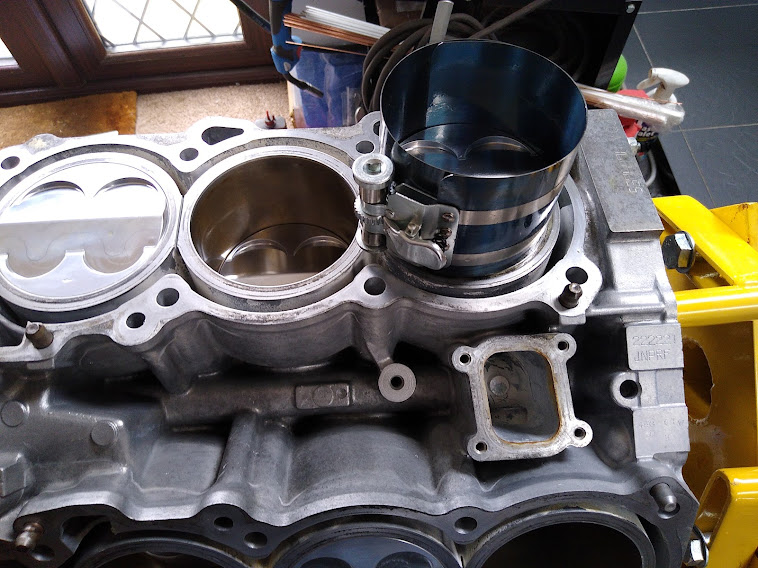
Now for the rods and pistons, there is positions for the ring gaps, you probably have them for your build but here is the ones from cosworth, tho they are nomally the same.
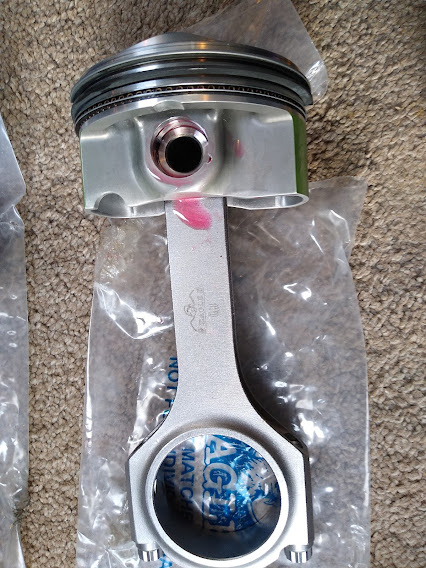
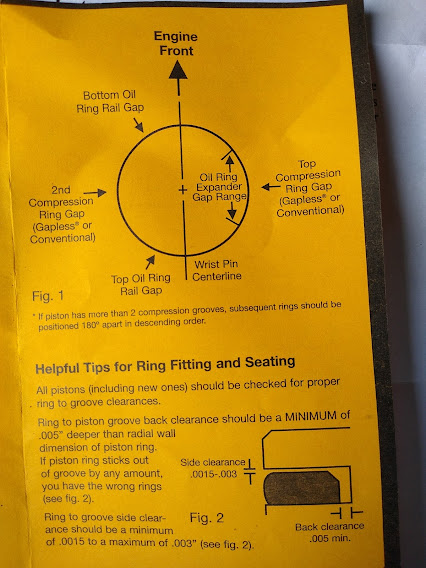

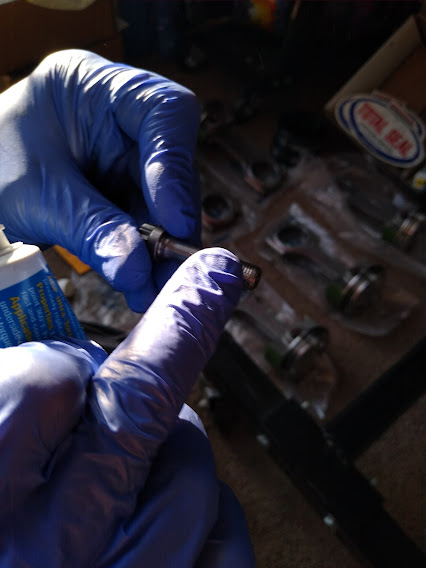
Plenty of assembly lube and thread lube, use the correct stuff!! the arrow on the pistons points to the front of the engine, i fit the spring compressor onto the piston before fitting the piston, getting the edge of the compressor on the edge of the lowest oil scraper ring, if you are lucky a tap with the handle of a nylon hammer will slide it down the bore, guide the big end onto the crank journel.
If it wont go, don’t bash it!! check on of the rings hasnt popped out between the compressor and the top of the bore, if it has, refit the compressor. do not rush this! each time you fit a piston, add the big end cap ( with lube ) and make sure the crank turns freely. you do not need to torque the big end up yet, i do them all together when all the pistons are in place.


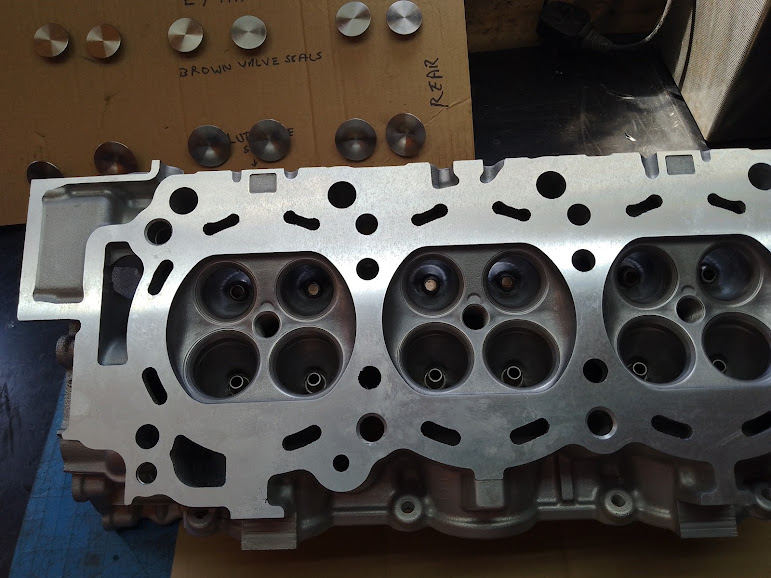
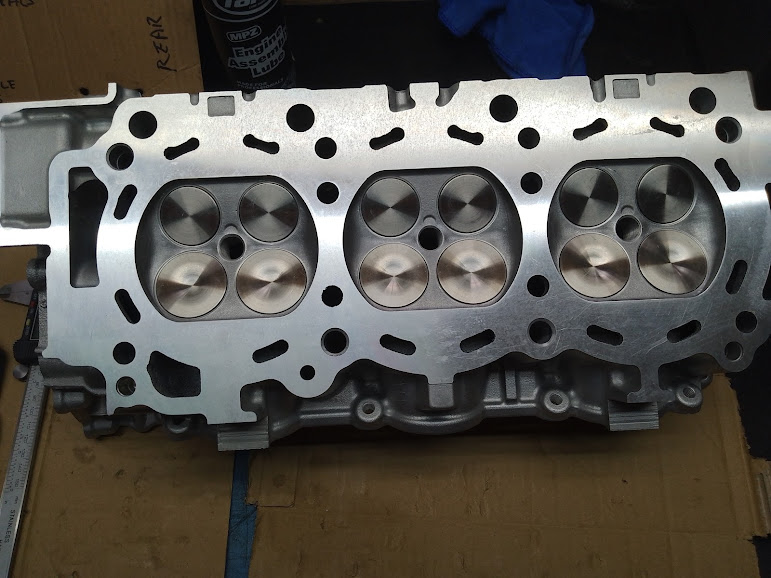
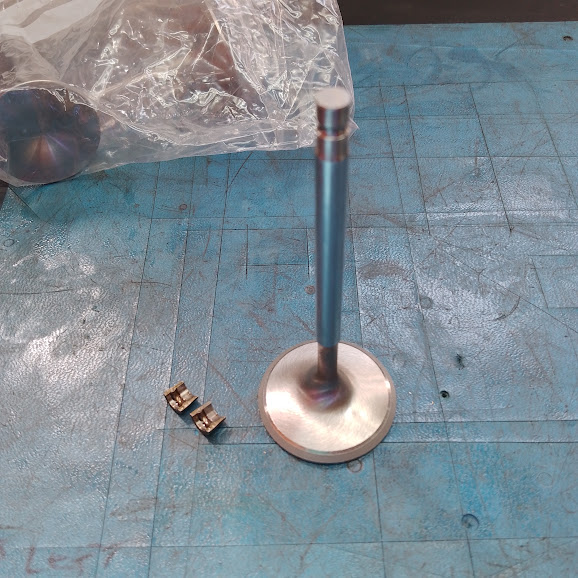
Once i had the pistons fitted i spent many hours gas flowing the heads, which were cleaned and given i light skim before lapping the new Brian Crower valves and springs.
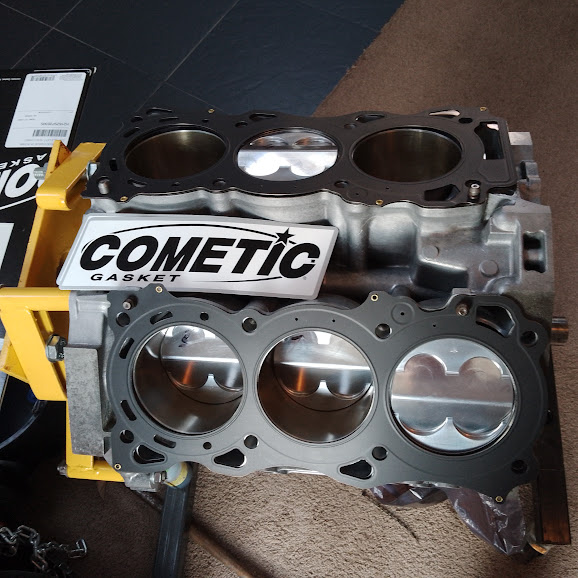
Nearly forgot, using the coswoth pistons means the original head gaskets are to small, so i had to get a set from cometic in the USA, a 4 week wait


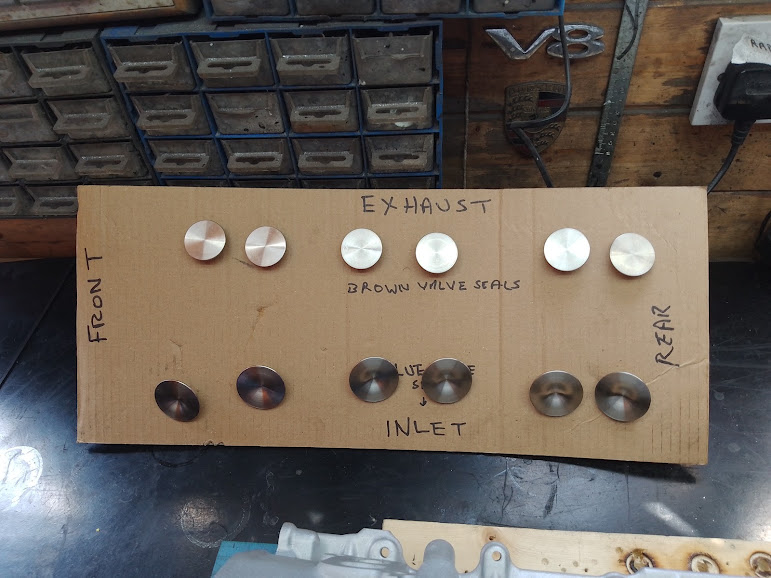
When the valves were lapped in they were kept in the correct position for refitting later, i used the poke them through some cardboard method!
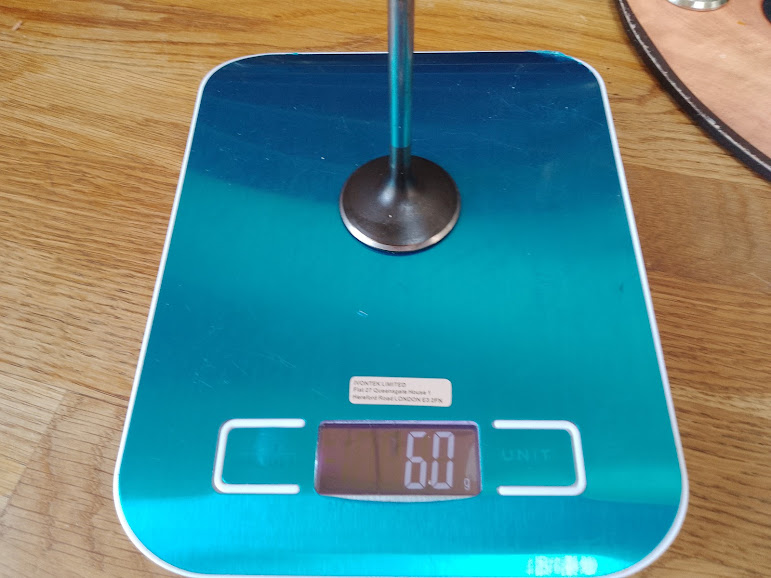
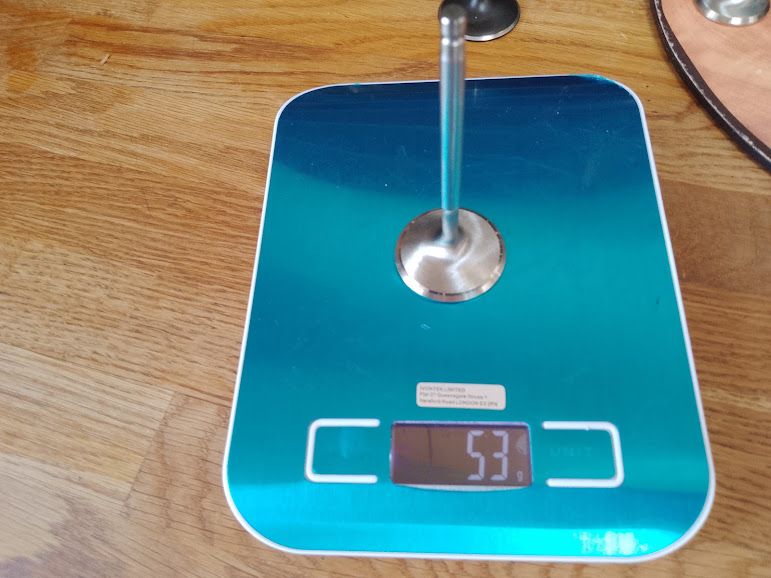
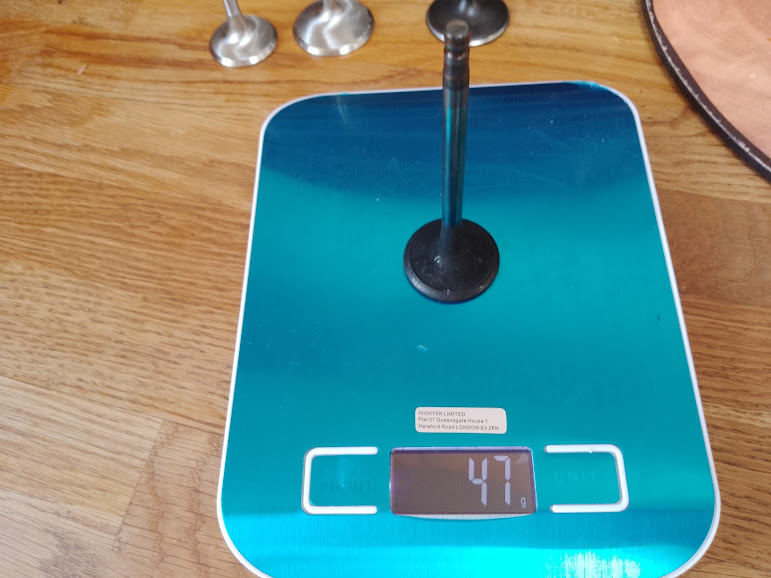
I then weighed the new valves, just to see any difference between the two makes.
The Brian Crower s/s valves are slightly lighter
inlet Nissan 60 gram…. BC 53 gram
exhaust Nissan 47 gram…BC 46 gram

Then its onto fitting the valves, buy the best spring compressor you can find, or borrow one. good quality tools do make these jobs easier. before fitting the valves make sure all traces of grinding paste are cleaned away, i use a smidgin of lube on the valve stems.
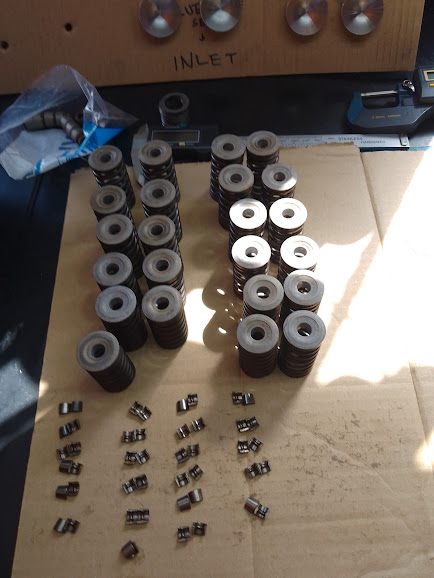
Once you have fitted the valves you have the time consuming job of fitting the buckets and cams, as they are solid lifters you need the correct size for each valve, if you cut the valve seats or replace or even lap them in you will reduce the clearance and need thinner ones.
This proved a pain in the ass for me! buckets are £50 each and if you need 24!!!
in the end i removed a few valves and took them to T&L engineering and had the top of the valves skimmed to bring them close enough, so i could use the buckets i had.
tho i did pick up a couple of spare heads of fleabay, just because they came with buckets.
i now have a load of spare buckets.
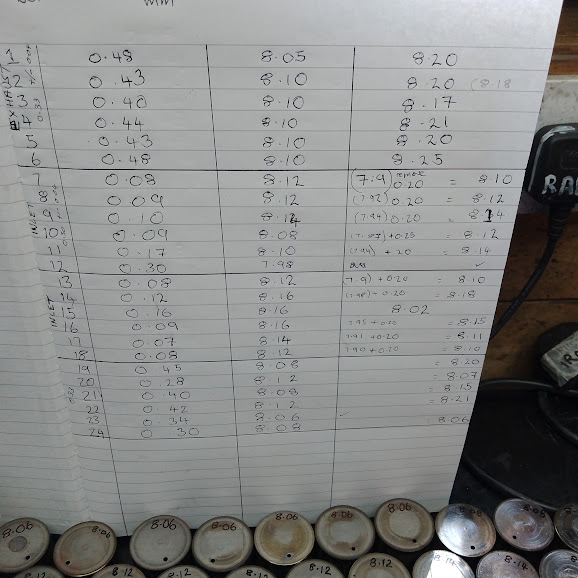
Adjusting the valve clearances was time consuming as i found most of the gaps had closed up due to the valves being cut back, this meant i had to collect a lot of spare buckets.
40 spare buckets later! but it seems Nissan mass production mean most heads have the same buckets fitted. each time you need to change a bucket the cams have to come off, so it pays to keep accurate notes of what size is fitted and what the clearance is.
The clearance for the DE engines are
inlet 0.30mm +/- 0.04
exhaust 0.33 +/- 0.04
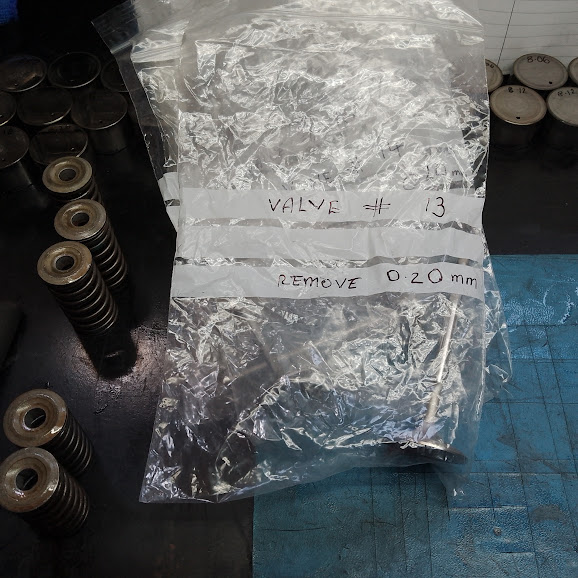
with the buckets i had i managed to get most spot on, rather than buy the few odd buckets i opted to have 0.20mm skimmed of the valves, this was a lot cheaper and so much quicker than buying new.
now all but one valve was perfect!! cock… i didnt want to remove a valve again so i was lazy and ordered one odd bucket from torquen. they are local to me and i get great service from them.
little did i know the valves come from the USofA and they only post when they have a large enough shipment (i think)
anyway a two month wait… AAaarrgg
but heads sorted in the end
And much better than if a company had just done me a straight forward crank repair
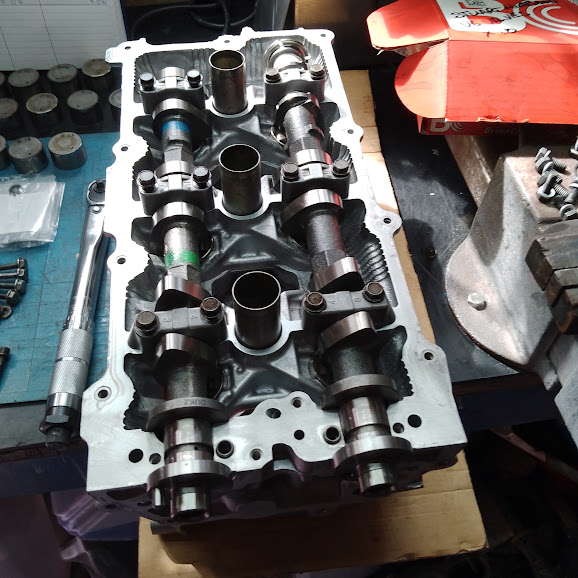
The next couple of videos are fitting the buckets and cams, on and of, on and of!! you’ll be able to do this blindfolded soon.
Check the springs are within tolerance, i’m lucky i have the parts from 5 good heads.

Now the heads are finished, better than new and ready to go on, the standard gaskets do not fit as i’m running +0.5mm pistons
I have used Cometic gaskets who will do a selection of bore sizes and thickness.
Invest in the longest breaker bar you can find, those head bolts are tight!
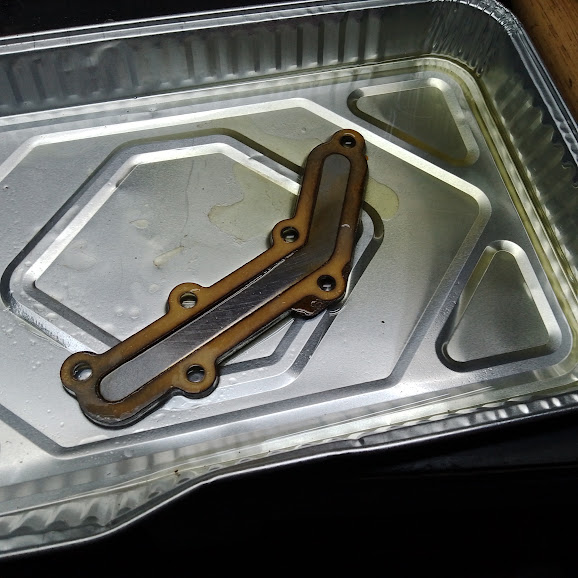
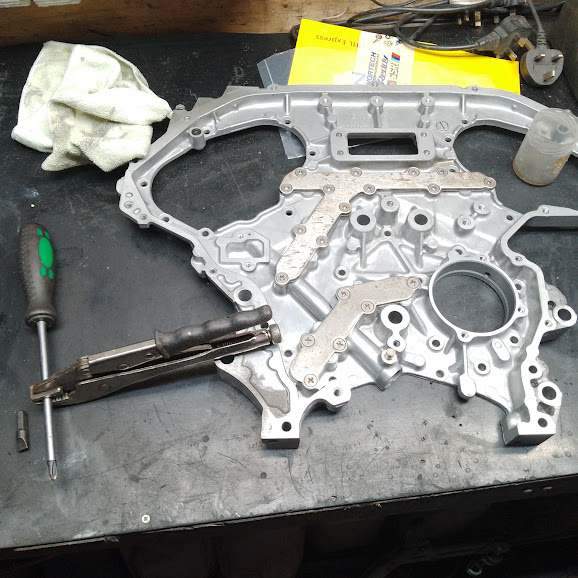
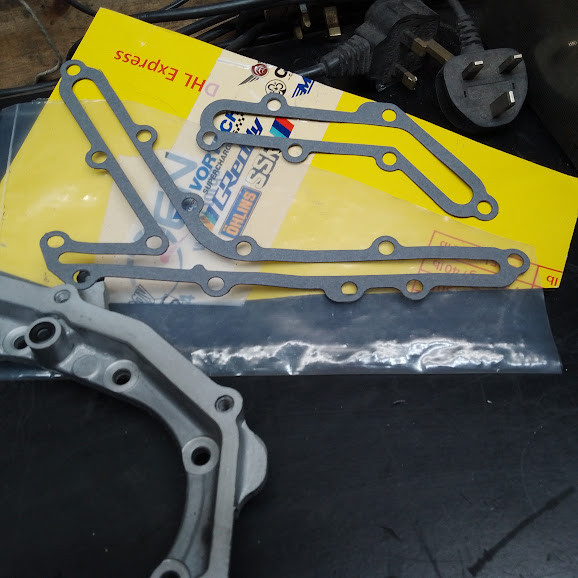
Before i fit the rear timing chain cover i will replace the gallery gaskets, the next few pics show what i did.
I soaked the gaskets in plus gas over night, it just softend them up a little, then scrapped them of with a new stanley knife blade.
when the gaskets came off they showed signs of a slight leak! all cleaned up and new gaskets fitted.
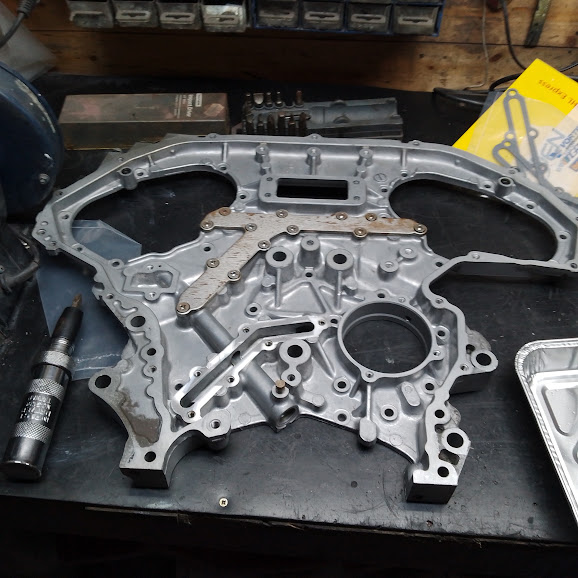
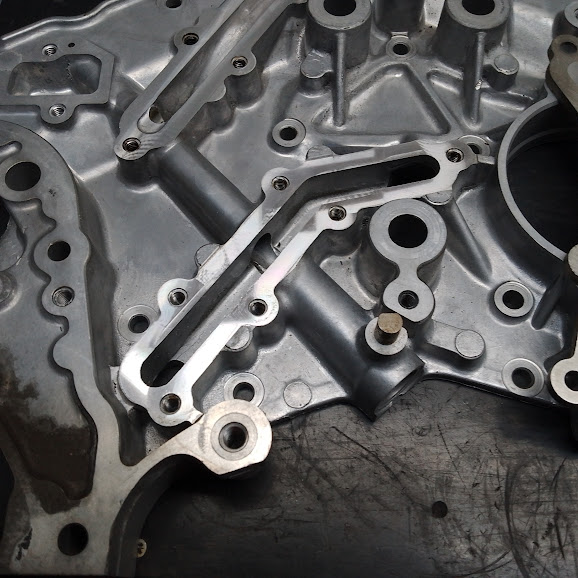
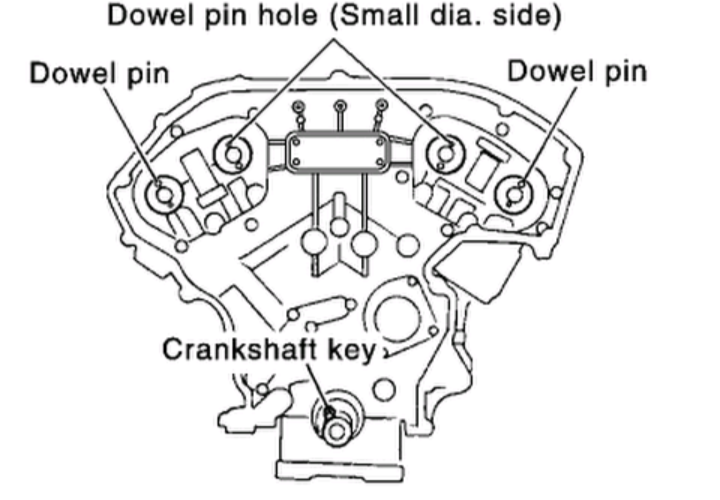
Then flip the casing over and apply your permatex, there are two different sizes of fixing bolts, the long one are marked in green on the diagram.
EXCEPT 4 which should be a shorter bolt
number 10 is long.
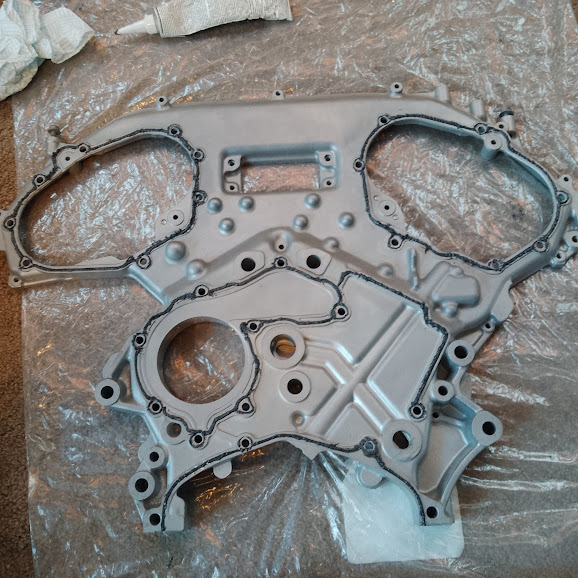

Make sure you fit your new O rings, 2 on the block and 2 on each head ( 6 total )
then fit the cover and torque the bolt down, i did 5nm then 12nm
