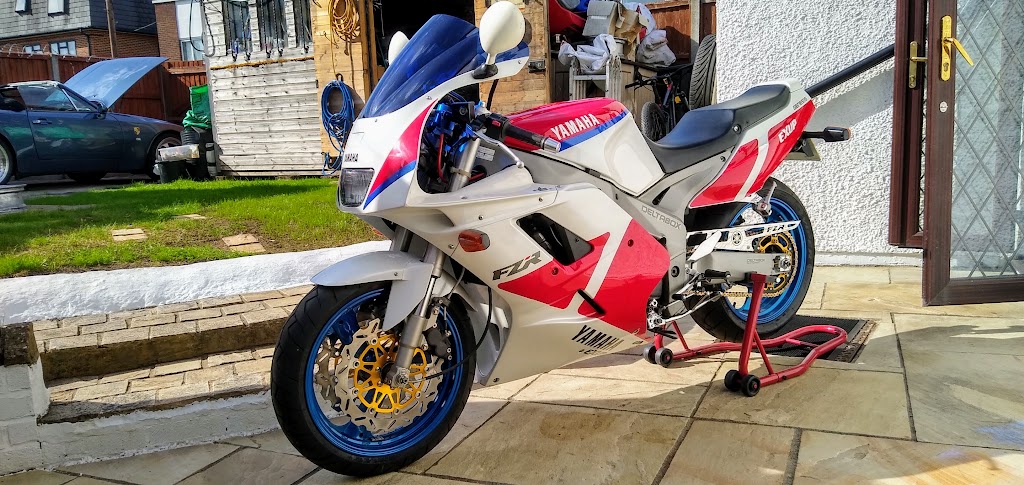
my Nissan 350Z

IMG_20181229_153115236_HDR

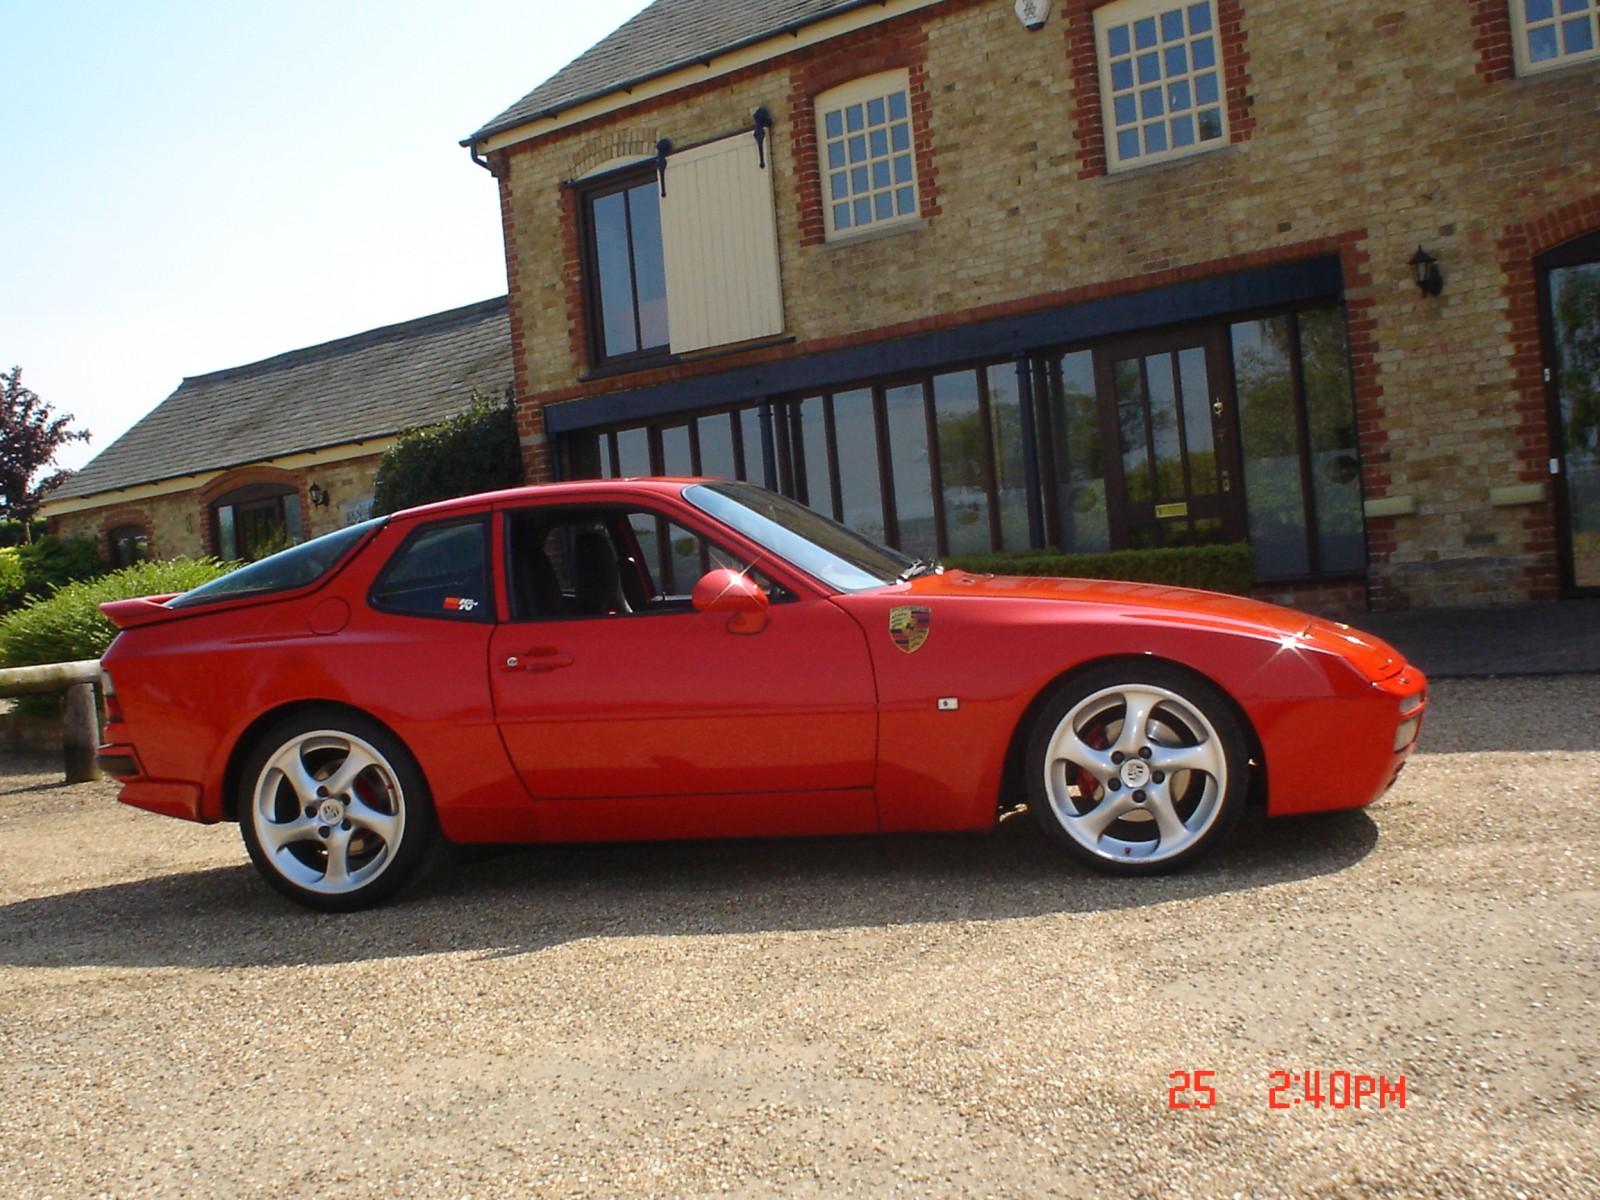
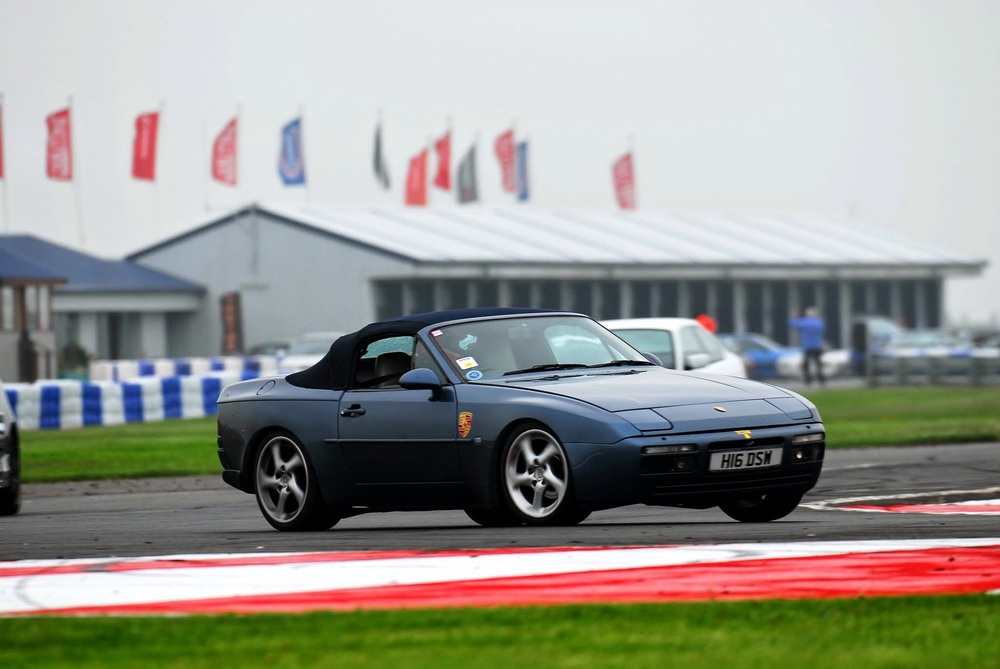
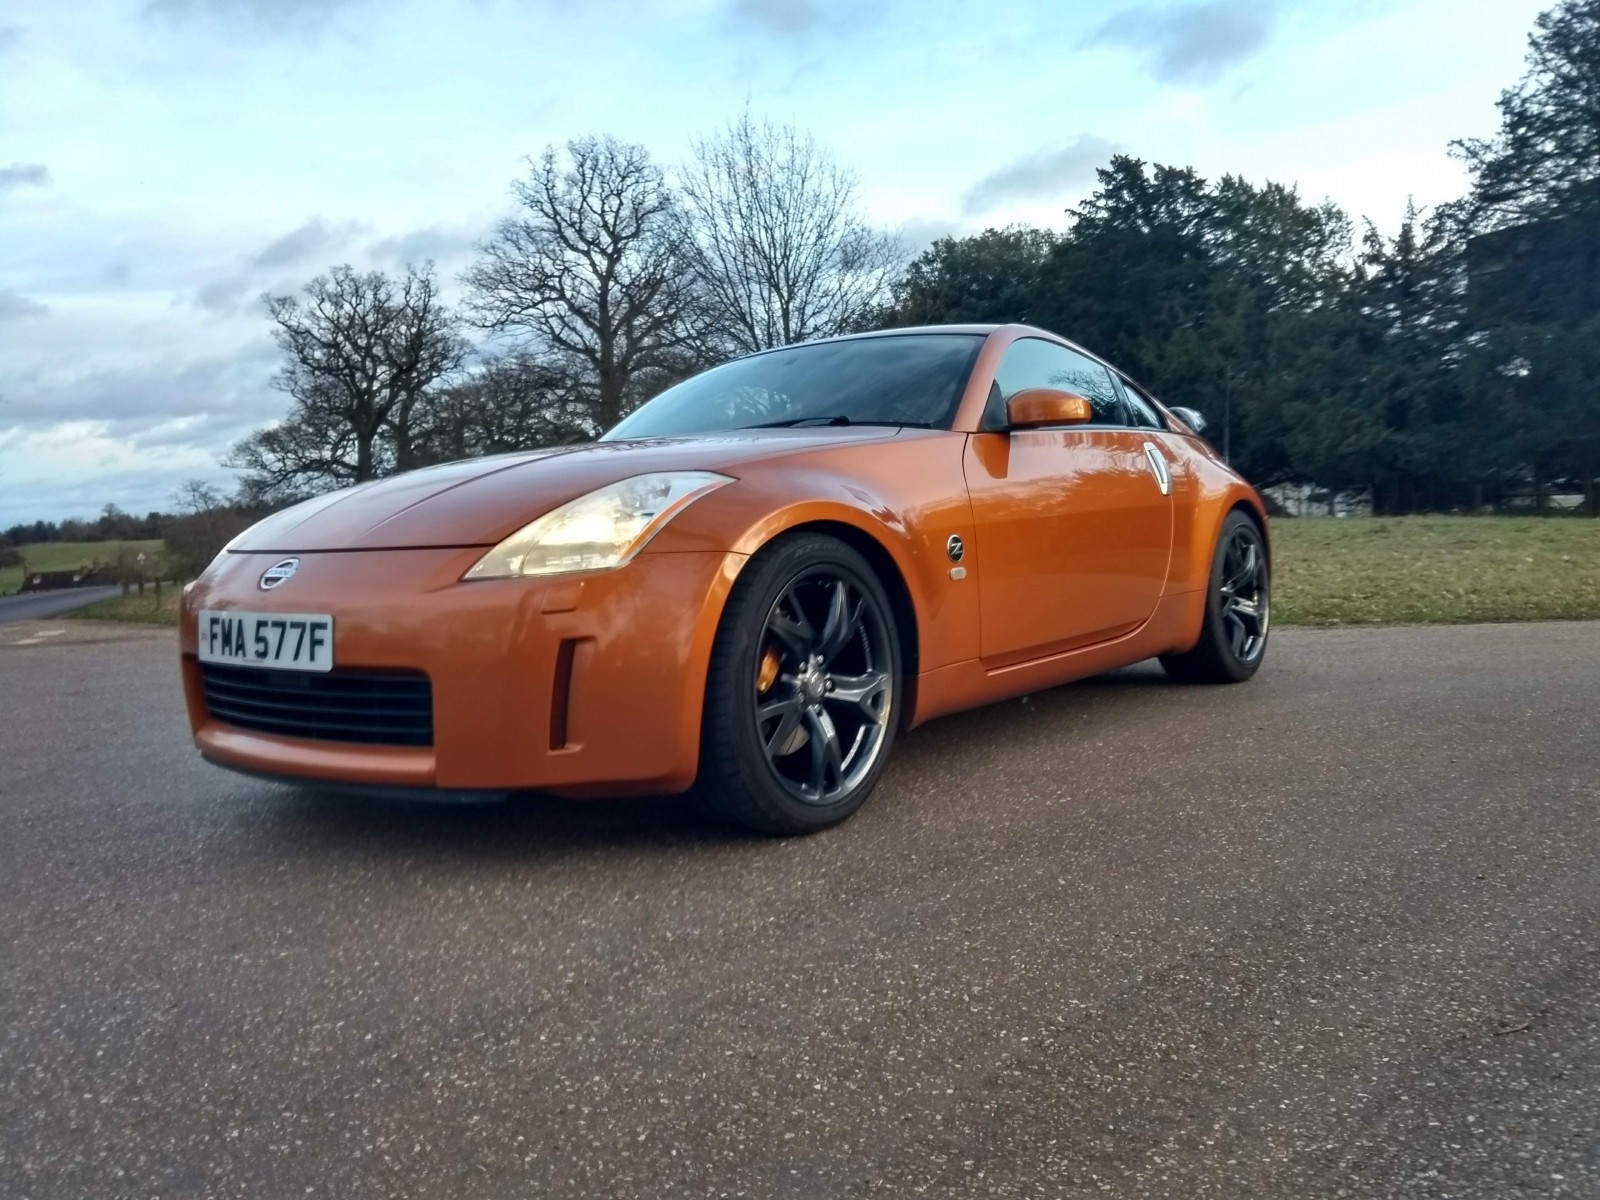
I have always liked the shape of these, and with this interior. My favourite!!

This one came with 370Z wheels, which I believe look better than the original 17″ Rays

First thing  is to make sure the brakes are as good as can be,  new vented discs and track pads all round with Hell brake lines and dot 5.1 fluid

Add a carbon rear wing

As someone who cant stop modifying their cars, I have started on the interior. god you would not believe the price of a genuine Nissan gear knob!!!! replacement seat parts to and a custom made boot divider to stop parts flying forward and it also keeps what is in the boot out of sight.

so we took  the car to Santa Pod to see what she runs.

https://youtu.be/MO3b74oqV2Q

Not as quick as i would like, so time for engine mods, first some Malian headers and decat pipes

while i have the car up in the air i am fitting a lightweight flywheel and clutch from Tarmac Sports, new slave cylinder and Hell stainless clutch pipe

fitted one new seat base and one rear section to replace the slightly worn ones, added a carbon front splitter.

Fitted Kinetix plenum plenum chamber and had remap at Horsham Developments, also had my steering wheel refreshed by Royal steering wheels, Aylesbury, really lifts the interior

Yamaha FZR1000 EXUP

IMG_20171008_142143448

My latest toy

I have always loved these, this is just for summer use, with a few little cosmetic mods to keep it looking fresh.

i have already changed the brake lines to aeroquipe and dot 5 fluid, stainless steel chain guard.

Much polishing of the titanium bolts i have been fitting.

polished gear and brake levers.

new fuel cap
polished stainless bolt
footrest before polishing
levers polished
brake lever polished

Replacing old and worn parts, old ignition barrel label and new one

old ignition barrel label
new label. £2.50 well spent

I have chromed the gear lever, brake lever and gear linkage rod, just to keep the high polish.

I have also added a new wavey rear disc, braided brake line, light weight Titanium adjuster blocks.

Many hours spent replacing all odd screws with A2 stainless which i have gone thu 3 stages of polishing.

How i have spent Christmas 17/18 weeks holiday

polished footrest hanger

Rear wheel with new parts.

new S/S bolts & alloy oil filler

Just waiting for a supersprox kit from USA and front discs to add later.

New supersprox kit fitted and new stainless steel woo discs, Mintex sinterd race pads for stainless discs, aii fluids changed for new dot 5 race fluids ( much higher boiling point )

Some pictures highlighting the new titanium bolts on the brakes and brackets, titanium chain adjuster blocks, gold titanium adjuster screws, brake bar is chromed too.
i have picked up a single seat hump and painted it , twice now but i can,t get the peal to match properly!!

As the bike has sat all year i am going to rebuild the carbs using viton gaskets to help protect against the ethenol in modern fuel, even tho i only us E10 super in all my cars & bikes
£250 for the dynojet kit and carb rebuild kit!

The carbs were removed, totally stripped down, the parts then went into my ultrasonic tank for a few hours, then all the parts were air blasted dry to make sure any airways were clear, the new dynojet and viton seal kits were fitted.
carbs were rebuilt, then i decided to change all the vacuum diaphragms.

Star Gemini 250

This is my rebuild of a very rare 1980 Star Gemini Super Kart, bought of Jim Coulthard.
this was Originally built by Lord Hesketh and one of these went on to win the world championships in 1980, This kart was a right state when i purchased it of Formula One Champion David Coulthard’s father, missing the original engine and exhausts, a good correct engine is in the thousands so for now i will be using a later RD250 engine

Star Gemini rolling chassis
Chassis stripped of all parts

So much for a quick and easy rebuild, every part is broken, seized or damaged, some all three!
the strip down has revealed many hours of work to be done.

sprocket carrier
Brakes seized up and beyond repair

Every part was stripped off the chassis which was sent of to be vapour blasted, a couple of small repairs and then stove enamelled.

bare chassis
bare star gemini chassis
chassis stove enemelled

A few pictures of the state of parts before they were reconditioned!

Broken disc carrier
steering hub mounts

I have had to have new nerf bars and bumpers made using the rusty bent originals as patterns.
Whilst all this was being done i have replaced every bearing on the chassis, new master cylinders, goodridge brake lines.
The original mini cooper brake calipers have had expensive rebuilds.

new axle carriers
new brake master cylinders
every bearing replaced
calipers refurbished

I have repainted the petrol tank, had all the new bumpers and steering parts re chromed and started re assembling it all

wheels refurbished with new tyres
new fuel pump and home made cam to drive it

Making the engine mounts

I made wood templates first, then cut out 13mm thick alloy plates, really strong lightweight finished product

wood template
front engine mounts being made
rear mounts. 13mm alloy
front engine mounts

Rebuilding the bottom end, converting the gear change to exit out of the right hand engine casing.

To do this you have to use an early clutch cover with the blank which needs to be milled out and drilled to take  the gear lever oil seal.

The gear shaft needs the selector for the drum grinding off, flip the shaft around and re-weld the selector arms back on.

standard selector arm
early clutch cover
gear shaft reversed and welded in place
new up-rated clutch plates and stronger springs

Reverse barrel conversion, Mick Abbey ported barrels, i have opened up the inlets to take larger RD350 YPVS reed blocks, single stage carbon race reeds.

Top casing modified for reverse barrel conversion
left inlet modified, right standard
RD block next to 350 YPVS block

i have opened the inlets up to take the 350 YPVS reed block with carbon fibre race reeds.

YPVS carbs with 1.6mm needle valve inlet to go with the pulse pump.

modified clutch cover fitted

I have welded on a new mounting plate for the mikuni pulse pump, added a pair of 34mm amal carbs, gear linkage all made, brakes bled, long circuit side tank and frame added

New brake cylinders and pipe, bought a long circuit side tank and mounting frame, painted fiberglass nose and wing.

i bent up the brackets for the wing and brazed on the clamps, its getting there

Fitted a lovely set ef 34mm Amal carbs and PVL ignition

Fibreglass parts and wing now  fitted

i  have re-made all of the spacers holding the engine in place to 30mm diameter alloy, made a new exhaust support that does away with the two single ones i originally had. steady improvements as i look at things

all the emails and messages i sent, no replys, so i have made the graphics myself, not perfect, but my first attempt

all finished, except! when i added fuel it pissed out the bottom of the tank. the only new tank i can get is from the guy that sold me a duff tank!! not impressed
new tank painted and fitted
Complete new ignition system from electrex world fitted, fuel mixed up and started first time

https://youtu.be/VCoMfL3zXbU

Martial Arts

Training since the age of 11, first in Judo, then Karate, Kick Boxing then Thai Boxing, Krav Maga.
Competing in Thai Boxing and Escrima, including the low armour formats.
Training under G.M. John Harvey since 1997.
Teaching his daughter and training in Luton they both went on to win many British Championship fights.
This page is a few videos, stills and memories of the many talented people I have had the pleasure to train with

training GM John Harvey, Pat O'Malley and Simon Wells

Over the years i have had the pleasure of training and sparring with G.M. John Harvey, Guro Pat O’Malley and so many more, Thai Boxing, Rapid Combat System and many more.

My first Thai fight was a bit of a screw up, both Lewis and i were to fight other guys, but they pulled out, so i got to fight Lewis.
It was the fact that he was trying to knock me out that got me to fight, i did not want to fight a training partner!
I was glad i got the decision, must have been on looks tho.

Apart from loving Thai Boxing, its nice to bring weapons into play, heres a couple of low armour fights

Here are a few newspaper clips from when myself and my daughter Tanya were both winning

Here is a couple of clips of my daughter Tanya playing!

And a little knife drill

Teaching at the Rico arena with G.M, John Harvey

A little knock about in the garden after a private lesson, fortunately Mir was more bolloxed than me!

Silat Seminar with Guru Glenn Lobo

Training in Bruni martial arts with Master Maul Mornie. Another very talented man

Porsche 944S2

My 1991 Porsche 944S2.
My S2 is a great handling car but lacks the acceleration i’d like, so this is a condensed history of the mods and improvements to the car.

When i bought the car it was bog standard, i firstly added 968 electric heated mirrors and 968 door handles.
And a new set of 18″ Turbo wheels

I then added a promax chip and de-cat pipe from Hayward & Scott, to help the breathing i replaced the panel filter with a K&N panel filter, i then junked that and added a huge K&N cone filter from an Aston Martin, putting it right in the cold air flow up front of the radiator.

original air box, modified with restrictor removed, more inlet area, K&N panel filter
air box removed and K&N cone filter fitted
Air filter and mini cooler for power steering
old cam cover stove enamelled

I had an old cam cover so i stove enameled it, looks ok so i will do a good one, next i worked on the brakes. but as i am uprating them i thought i would add cooling ducts.
The Porsche items are pants!
I can do better than that!
It required some cutting of the original to fit the intakes, and moving of the power steering cooler, but my solution is cheaper to buy and more effective, some pics of how i did it.

air intakes, ducting and new back plates
bumper removed for modifying
cutting hole for air intakes

i have cut a hole below the bumper and reshaped the inlets i have bought, very theraputic! much filing and then fiber glass work, once the new back plates were fitted, ducting was fitted, making sure it is long enough on full lock both directions.

air intake grafted into position

While doing this i have fitted an oil cooler in the bottom of the bumper, connected with aeroquipe hose, then mesh to stop stones reaching the disc.
this is an easy mod tho i would recommend buying a spare bumper to re-work, it took me quite a few hours tho, but take longer and get a better finish than a rush job.

air intakes fitted and bumper in primer
ducts look purpose made

Why didn’t Porsche do this! it looks good in my opinion and must be an improvement over standard.

brake duct
oil cooler plumbed in

The finished look!

Brake air intake

Now thats sorted time to do the brakes, all wheel bearings were replaced, if i am up-rating the brakes seems daft not to!
Calipers refurbished, new PFC race pads, these work great on the road too, new vented and drilled discs.

refurbished calipers
brake back plate and ducting
new Gaz Gold kit

As i was fitting the brakes i added poly bushes all round, and Gaz Gold shockers all round too

Gaz Gold suspension kit

I have fitted grooved and drilled discs, an extravagance!

drilled and grooved discs with reconditioned calipers

The best way to get better acceleration is to loose weight, the car not me!
So i have stripped out all the interior, all the sound deadening ( that was heavier than i thought ).
removed the heavy Porsche electric seats, wiring , window motors and fitted perspex items.

interior being stripped out

The modifying bug has caught, the car is turning into a more orientated track car but i have to reign it in a bit!!
home made center console with fuel and electric cut-offs, roll cage, tho iam not fitting the door bars to help keep access easy.
alloy battery box behind passenger seat.
Light weight door cards with door pulls.

home modified center console
home made door cards, carbon fibre look

My next job is to weld in the roll cage then i can start a add some carpet and make my own interior panels.

Things have slowed down a lot on this car due to the work on the cab, and needing to buy a mig welder, but the car is running sweet and small things are happening, slowly

rear torsion bars need removing tho
corbeau revenge, but i need a MIG welder!

Porsche 944 Cabriolet

A tired and tatty looking cab when i bought her, wrong wheels, heater not working, none standard fog lights, dirty inside, paint very stone chipped and sills need doing!

let the fun begin

A day at Santa Pod, quick starts but let down by serious power shortage compared to the opposition!

Santa Pod
Yay im still in front, not for long tho!

There is so many jobs to do, but first to fix the brakes, reconditioned calipers, new discs and wheel bearings.

new discs
new aeroquip hoses
new momo steering wheel

New momo wood and leather steering wheelMany of the mods i have already done on my 944S2 and i know they work, so the air box delete and K&N cone filter has been done.

Modified air box with K&N panel filter
detail of mod
K&N cone filter fitted to 944 cab

One of the mods i have done is to add anti roll bar bracket supports, stops the A.R.B brackets snapping (i hope).
Poly bushes as well.

Anti Roll Bar bracket stiffeners

The interior was pretty filthy so i have stripped it all out, carpet was washed in the bath with carpet cleaner, not a happy wife!!
I bought a seat re-colouring kit and stripped the seats and re did then, tho believe this is a temporary fix and when seats are very worn, they need recovering, a future job.

944 cab seats removed
re-coloured seats

Carpets before cleaning, and after.

filthy carpets
filthy carpets
carpets back in after cleaning

This car was missing the correct fog lights when i bought it, so i picked up second hand units, rebuilt then and fitted my home made fog light covers over them to protect from stone chips.

crappy non original fog lights
bumper coming of
new fog lights fitted

Before i changed the fog lights, i borrowed the wheels of my S2 and did a couple of track days. the first one was Bedford Autodrome

Bedford Autodrome
Bedford Autodrome
Tanya and me at Silverstone
Silverstone pit lane 2012
new short shift kit with gear lever
new lever next to original one
new lever fitted

As my catalitic converter is blowing i have decided to make my own straight through pipe.

split in pipe

Clear rear indicator lenses to match the front ones i added!

New Veloce wheels added

Both of my 944's on my drive

So much better looking with a crash helmet on!

After my gearbox locked up at Race Retro this year (2016) i have decided to replace it myself, last time i used a classic porsche dealer, very local and my short shift lever went missing!
As i am replacing the gearbox i will do some simple up grades which i will add to my blog.

gearbox removed

For a detailed how to remove the gearbox easily on a 944, see my blog, for now i will just add the improvements i have made.

standard 944 gear linkage
standard 944 linkage

The two previous pics are the standard linkage, i have used a short shift kit and made my own cross bar using quality rose joints and stainless steel bar, as my old short shift lever went missing at a local garage i have sourced another better item from the U.S.A.

my short shift linkage
home made cross brace
rose jointed linkage for less play

The standard worn out lever i found on my car and the new alloy item. if i did not do this work myself i may never had noticed that my old ( new ) lever had been removed and not refitted.

old and new gear levers

New gearbox with new linkages and £90 worth of swepco oil in it, ready to go in.
Tho while the box was of i cleaned all the underneath of the car, waxoiled it, fitted new rear discs, Spax shock absorbers and Goodridge brake pipes.
I also modified the alloy bar and torsion bar tube to stop the exhaust rattle that my home made de cat had.

gearbox ready to go back in

While putting the box back in i have replaced all the bolts with new ones, any drive shaft boots that looked iffy were changed for new items. New Spax adjustable shocks,

spax shock for the 944
Spax damper on Porsche 944
new discs, shocks, dinitrol'd

Cross brace and beam modified to stop the exhaust rattle, caused by making up my own decat pipe that runs soooo close to the floor pan!!

cross brace
cross brace modified

Calipers back from Custom Calipers, fully refurbished, new aeroquip lines made up. all back together

New dampers, brake calipers, fluid.
new caliper

Brakes all back together,wheels to go on then a test blast.

gearbox seems fine. yay

Now to add some sound deadening and clean the carpets before fitting my new Corbeau RRS seats, need to make my own seat belt brackets too.

The next few pics are the carpet removal,  4mm of silent coat then 10mm of closed cell sound deadening .

carpet and old sound deadening removed.
4mm silent coat fitted
10mm of closed cell acoustic foam laid
carpets all cleaned before refitting
drivers seat fitted

The seat belt brackets are home made 6mm angle iron, M12 bolt threaded through and nylocked in place too. front seats now in.

seat belt bracket
new front seats. Corbeau RRS
Corbeau RRS

The cab is now being striped for new sills and a respray by L.A. Paintworks, while its away i am re-trimming the dash in leather, and having dashboard parts transfer printed

car off to be welded and painted, dashboard removed
old vinyl removed from dashboard
new leather applied to top of dash, bottom to do

While the car is away having new sills and a respray i have re-leathered the dash& center console, bought new leather corbeau RSR seats.

New alloy radiator, many engine parts chromed or stove enameled

And to top it of a full luxury carpet kit from Coverdale.

Below are some pictures

Dash with new leather and hydrographic printing
new leather, hydro dipped plastic door pull and surround
window switch surround
wiper arms now chromed
center console re-leathered
Corbeau RSR leather seats
corbeau RSR leather seats

Before, during and after painting

Now the car is back i can start refitting the trim and new carpet kit, i have made my own seat belt anchors which i have had chromed, the new seats to go on adjustable slide mounts

Interior now all fitted and engine bay cleaned up

car finished just in time for Le Mans 2018 the next pics are at the mot station, 10 miles since rebuild.

what the pictures do not show is that when i tried to start the car it locked up! a quick strip and it seems the crank is the problem.

so we quickly took the engine out of the red coupe and fitted it with the blue manifold and covers.

So we will be going to Le Mans on an engine that has stood for years with a 15 year old cambelt!!

well we made it! but not without making it an adventure, the passenger window stopped working, so at every toll booth we had to put the roof down and val had to stand on the seat to pay the toll.

the starter motor packed up just before LeMans and we got a bump start from another 944 enthusiast, thanks Arnot!  starter motor replaced by a small garage just outside LeMans who were so helpful, lent us a car to get to the gite.

A few pictures of the farm we stayed at out side LeMans,

This is called The Dairy House, on a Farm? stables just outside Lemans, Rented thru Lemans holidays, great place and i would recomend them,

If you have read this far you are obviously a petrol head, so a few cars at LeMans

Once back from LeMans we thought it best to get the cam and balance belts changed, this was taken care of by a local porsche specialist Auto Umbau in Wrest Park Bedfordshire, who i can highly recommend.
After that we had nearly two years of covid restrictions so the porsche did not get a lot of use.
Jan 2022 i noticed the car started using water! i suspect the head gasket so i have rang round for quotes.
Cheapest quote for the headgasket is £3500, and i know it will be more.
I will do it myself and gas flow the head and change the chain and tensioner at the same time.

A few pictures of the head being worked on, a little tip tho, if you are going to be working on these cars yourself it is easier to remove the head studs and fit bolts, that makes it easier to remove the exhaust manifolds, with studs it can be a pig of a job!

Head all refreshed and skimmed, i know if i had paid a garage to do this, it would not have been done to this standard. next the head swap.

refreshed head going on with all new gaskets, chain and tensioner pads,

With the head fitted i am now fitting a new set of injectors, fuel pressure gauge and new pressure regulator.
New braided fuel lines from Devin Lyons in the USA
Also it is a good time to fit a new idle control valve, new spark plugs, cap and rotor, leads etc were replaced before LeMans.